You might think the first characters I designed for Spell Valley would be the most basic, but this was hardly the case. The earliest prototypes of Spell Valley were wild affairs with heroes that reanimated their allies, seized control of their enemies, and set the whole board on fire. What I love most about Spell Valley is the sheer variety of possible characters. To this day my apartment is stuffed full of index cards on which I’ve scrawled hundreds of hero designs. Often my interest in character design would outpace the stability of the gameplay itself, leading to mass overhauls that could affect dozens of heroes in response to even small shifts in the game's ruleset. At some point I realized I needed to get back to basics and craft an initial set of characters that struck at the core of Spell Valley's design. A starting team of heroes that would be as simple as possible, that would introduce fundamental concepts to new players, and that nonetheless demonstrated just how tense and exciting a battle could be. If I could make the game great with the simplest characters, then I could introduce further complexity over time as players mastered the basics and became ready for a new challenge.
Giant and the Power of Disjunction
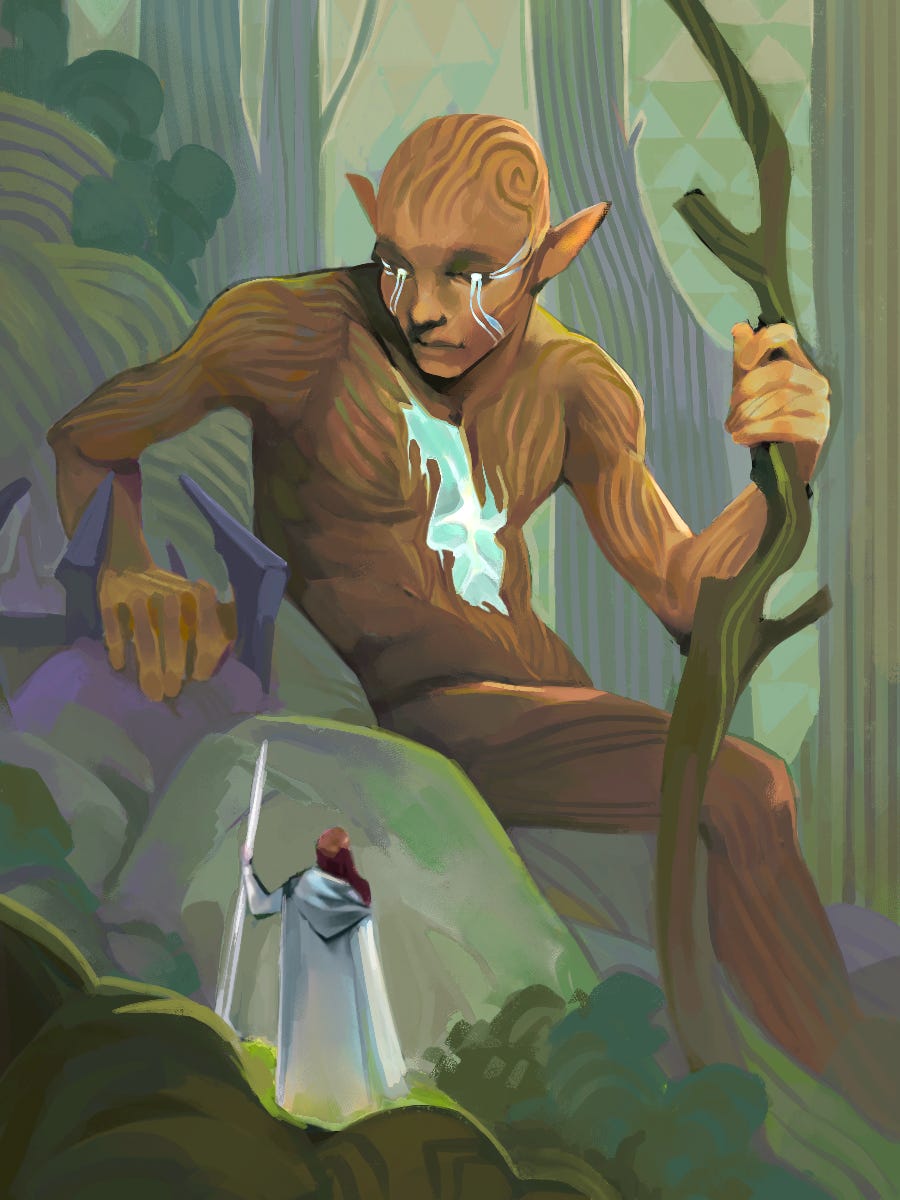
In the spirit of this mission, I decided the first hero would be the simplest. With just attack, health, and the default speed of 1, what the Giant lacks in complexity he makes up for in size. In most turn-based tactics games units move and then attack. But this is not so in Spell Valley where most heroes can either move OR attack each turn. When Giant moves forward he can't attack immediately. Rather, he threatens to deliver a crushing blow next turn. Because battles in the Spell Valley are played on such a compact board, forcing enemies to retreat constitutes a kind of latent damage, made due only when the Giant reaches the other side of the board and the retreating enemy finds he has nowhere left to run. In turn, this default disjunction implies that most heroes have the minimum effective range of 1, which, as discussed in my previous post, is critical for keeping the board as dense as possible. You might assume that the Giant is a hero for noobs who can't understand the deeper gameplay enabled by more complex heroes, but that would be an oversight. Complexity is not depth, and the Giant's limited actions mean that every decision matters. There are few strategies I find more satisfying than maneuvering your Giant all the way across the board—a mighty force that your opponent proved unable to stop.
Don't Underestimate the Knight
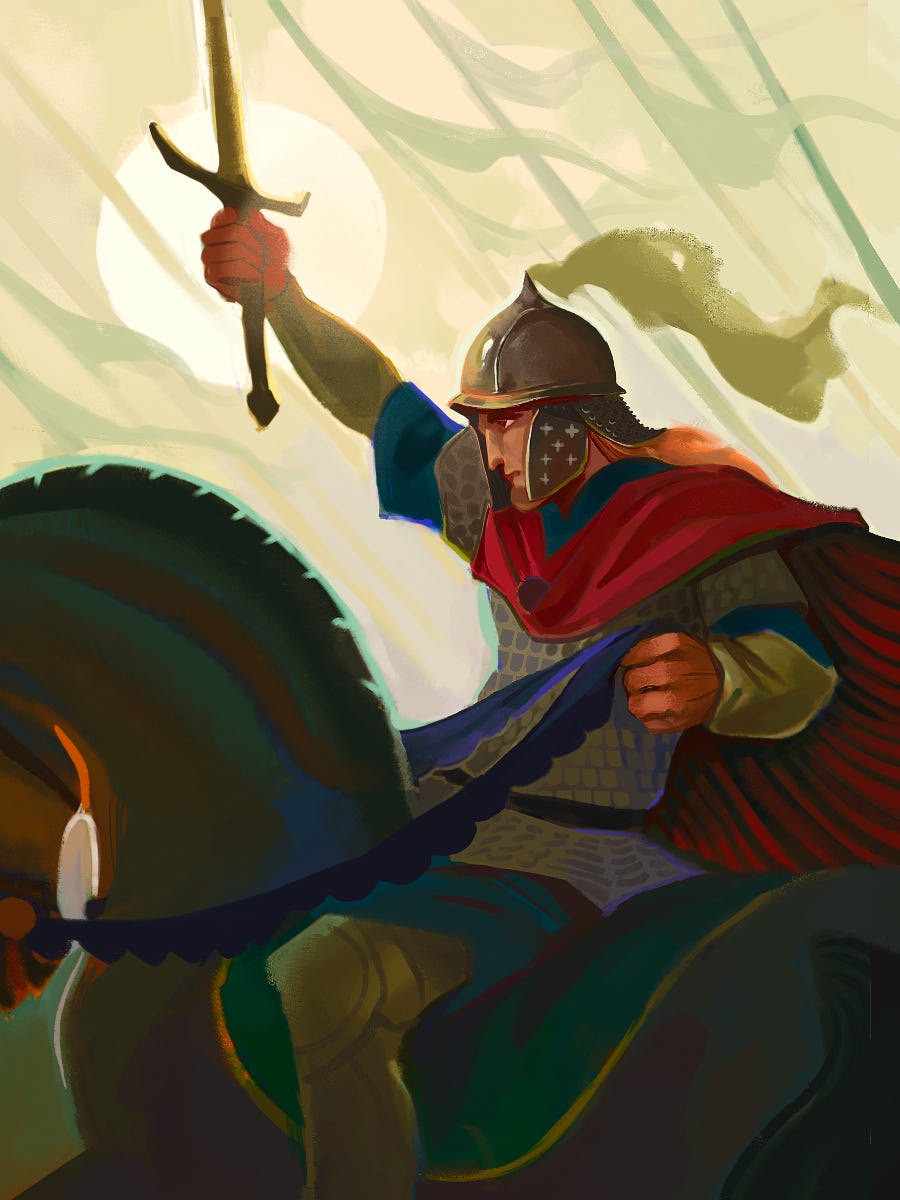
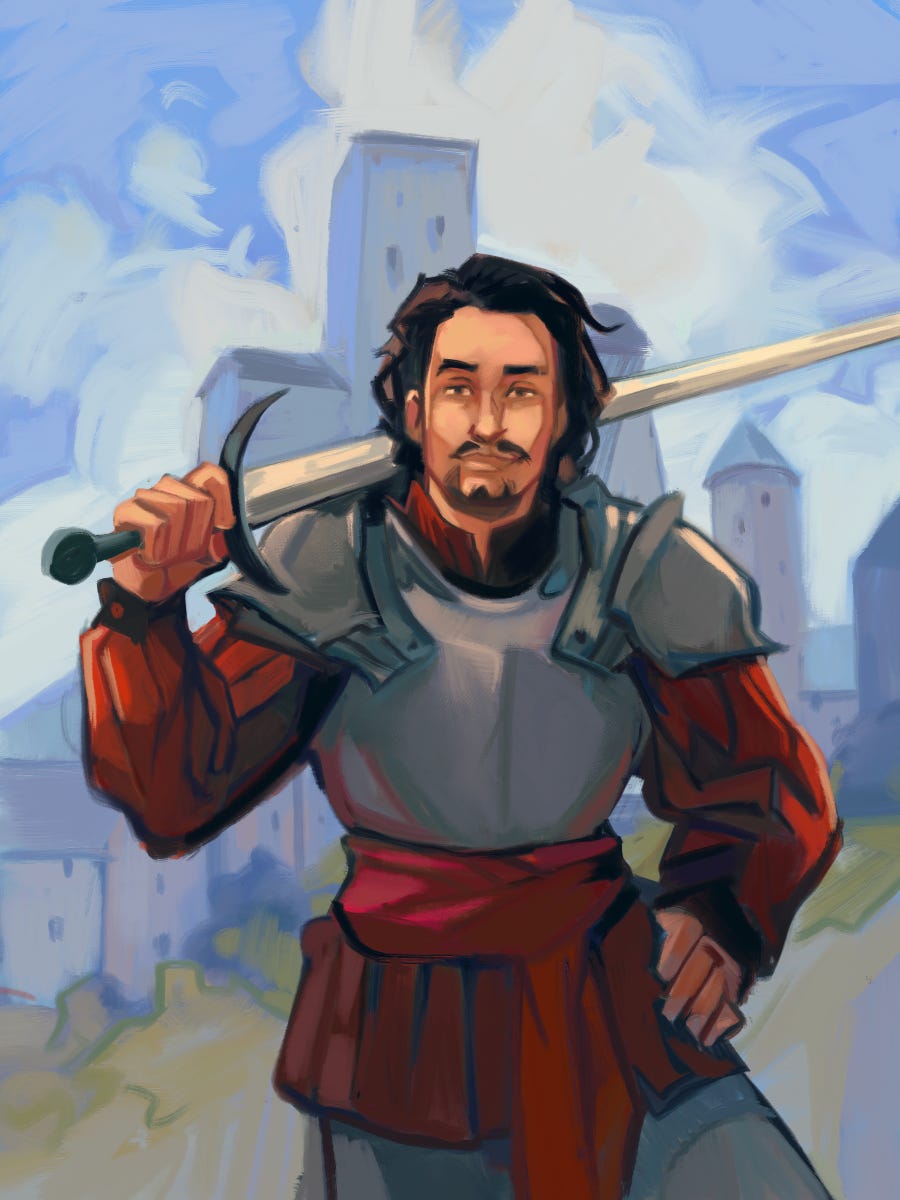
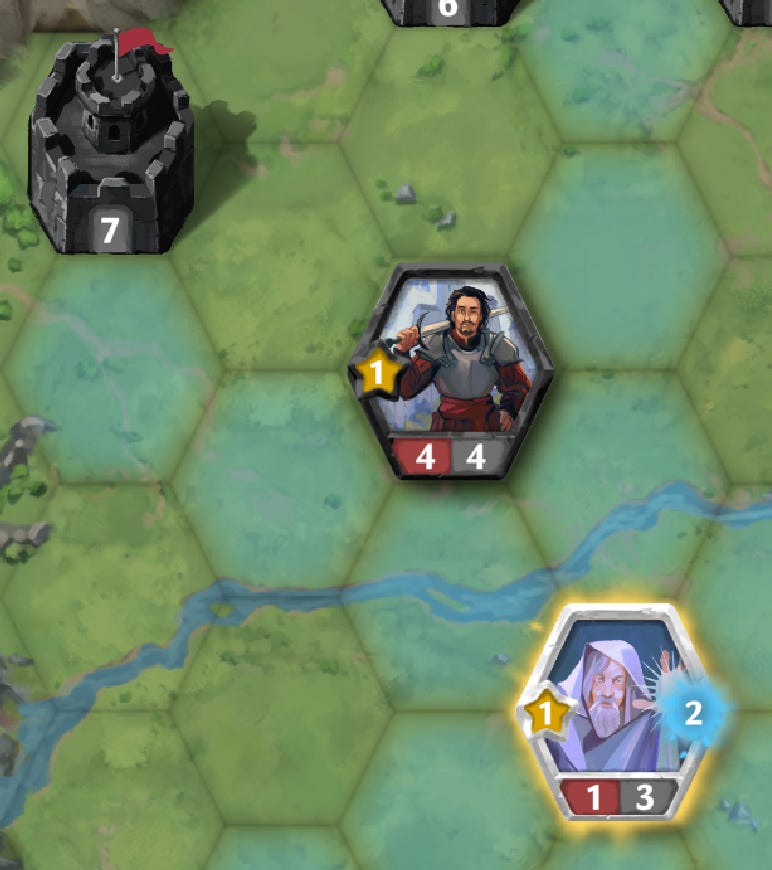
The game's second hero takes the Giant as a base and then makes the smallest possible change. Instead of moving 1 hex per turn, the Knight can move 2. If you're used to solo turn-based tactics games played on bigger boards, this may not seem like much, but double speed is nothing to scoff at. On Spell Valley's compact board, the Knight moves at a blistering pace, outrunning its opponents and winning tower races with ease. Of course, everything has a price, and the extra point of speed means that the Knight is substantially smaller than the Giant, with less attack and less health. If the Knight walks up to the Giant, he's going to get smashed, whereas the Giant can approach the Knight with impunity. I've found this leads new players to dub the Knight "weak", arguing he should have more health or deal more damage. But experienced gamers will know not to underestimate the value of speed. Observant players will find that much like in chess the Knight is full of tricks, using his speed to reposition his allies and sometimes even extend their effective range.
Archers and Area Control
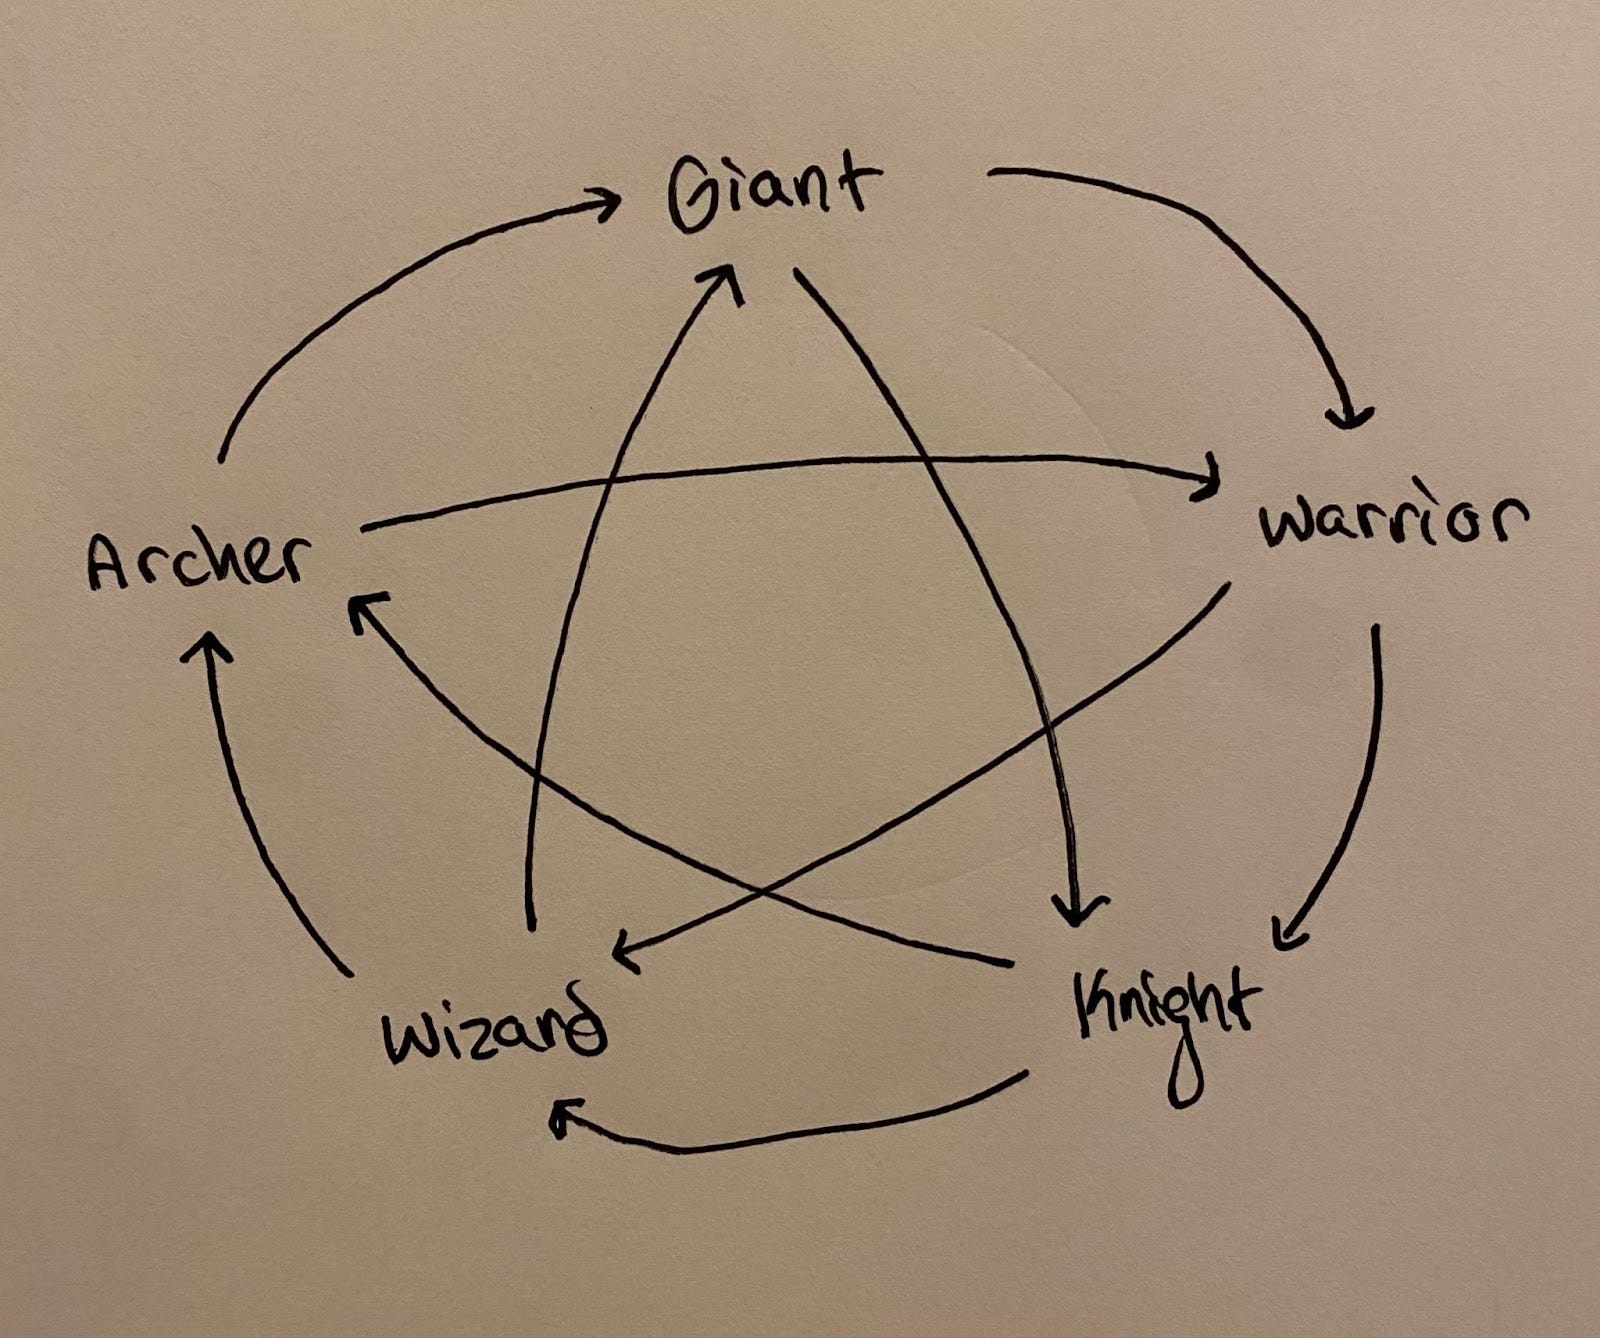
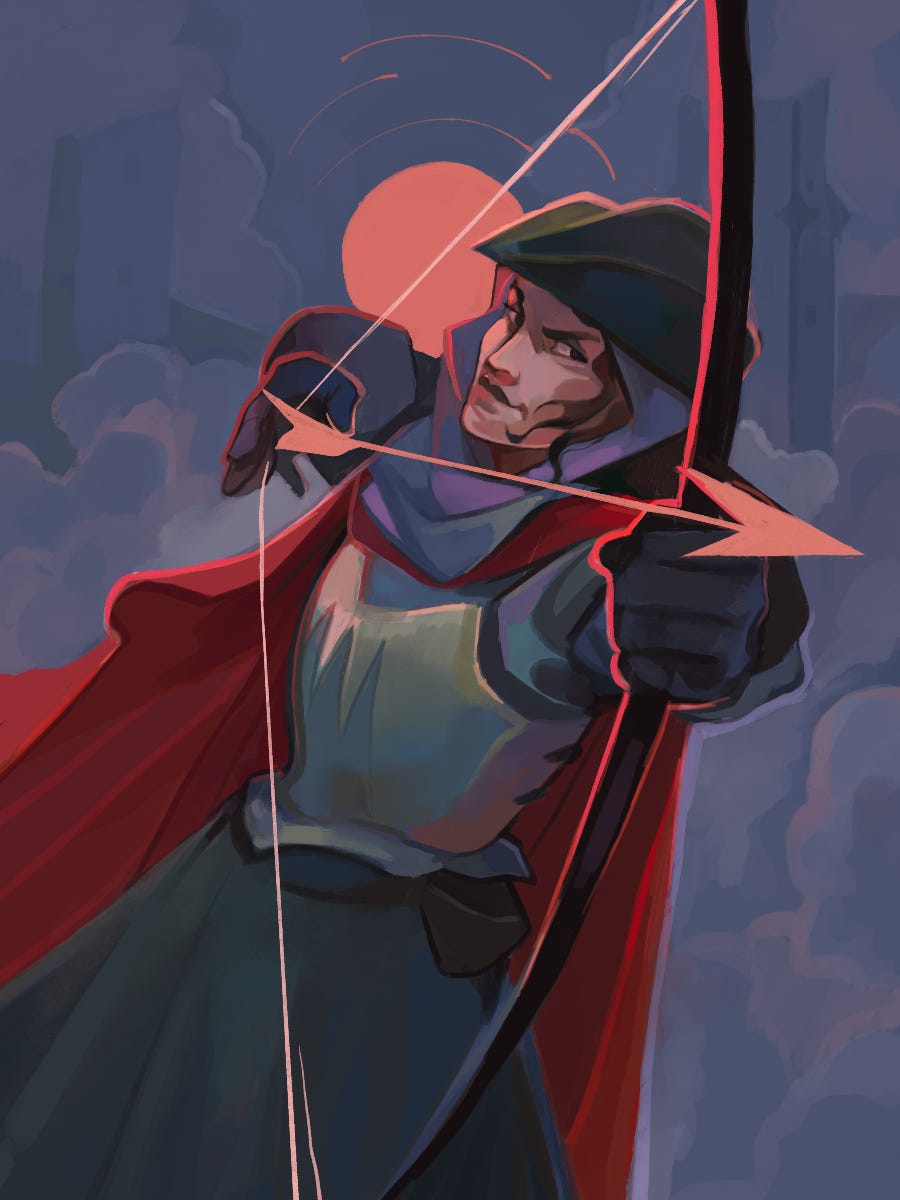
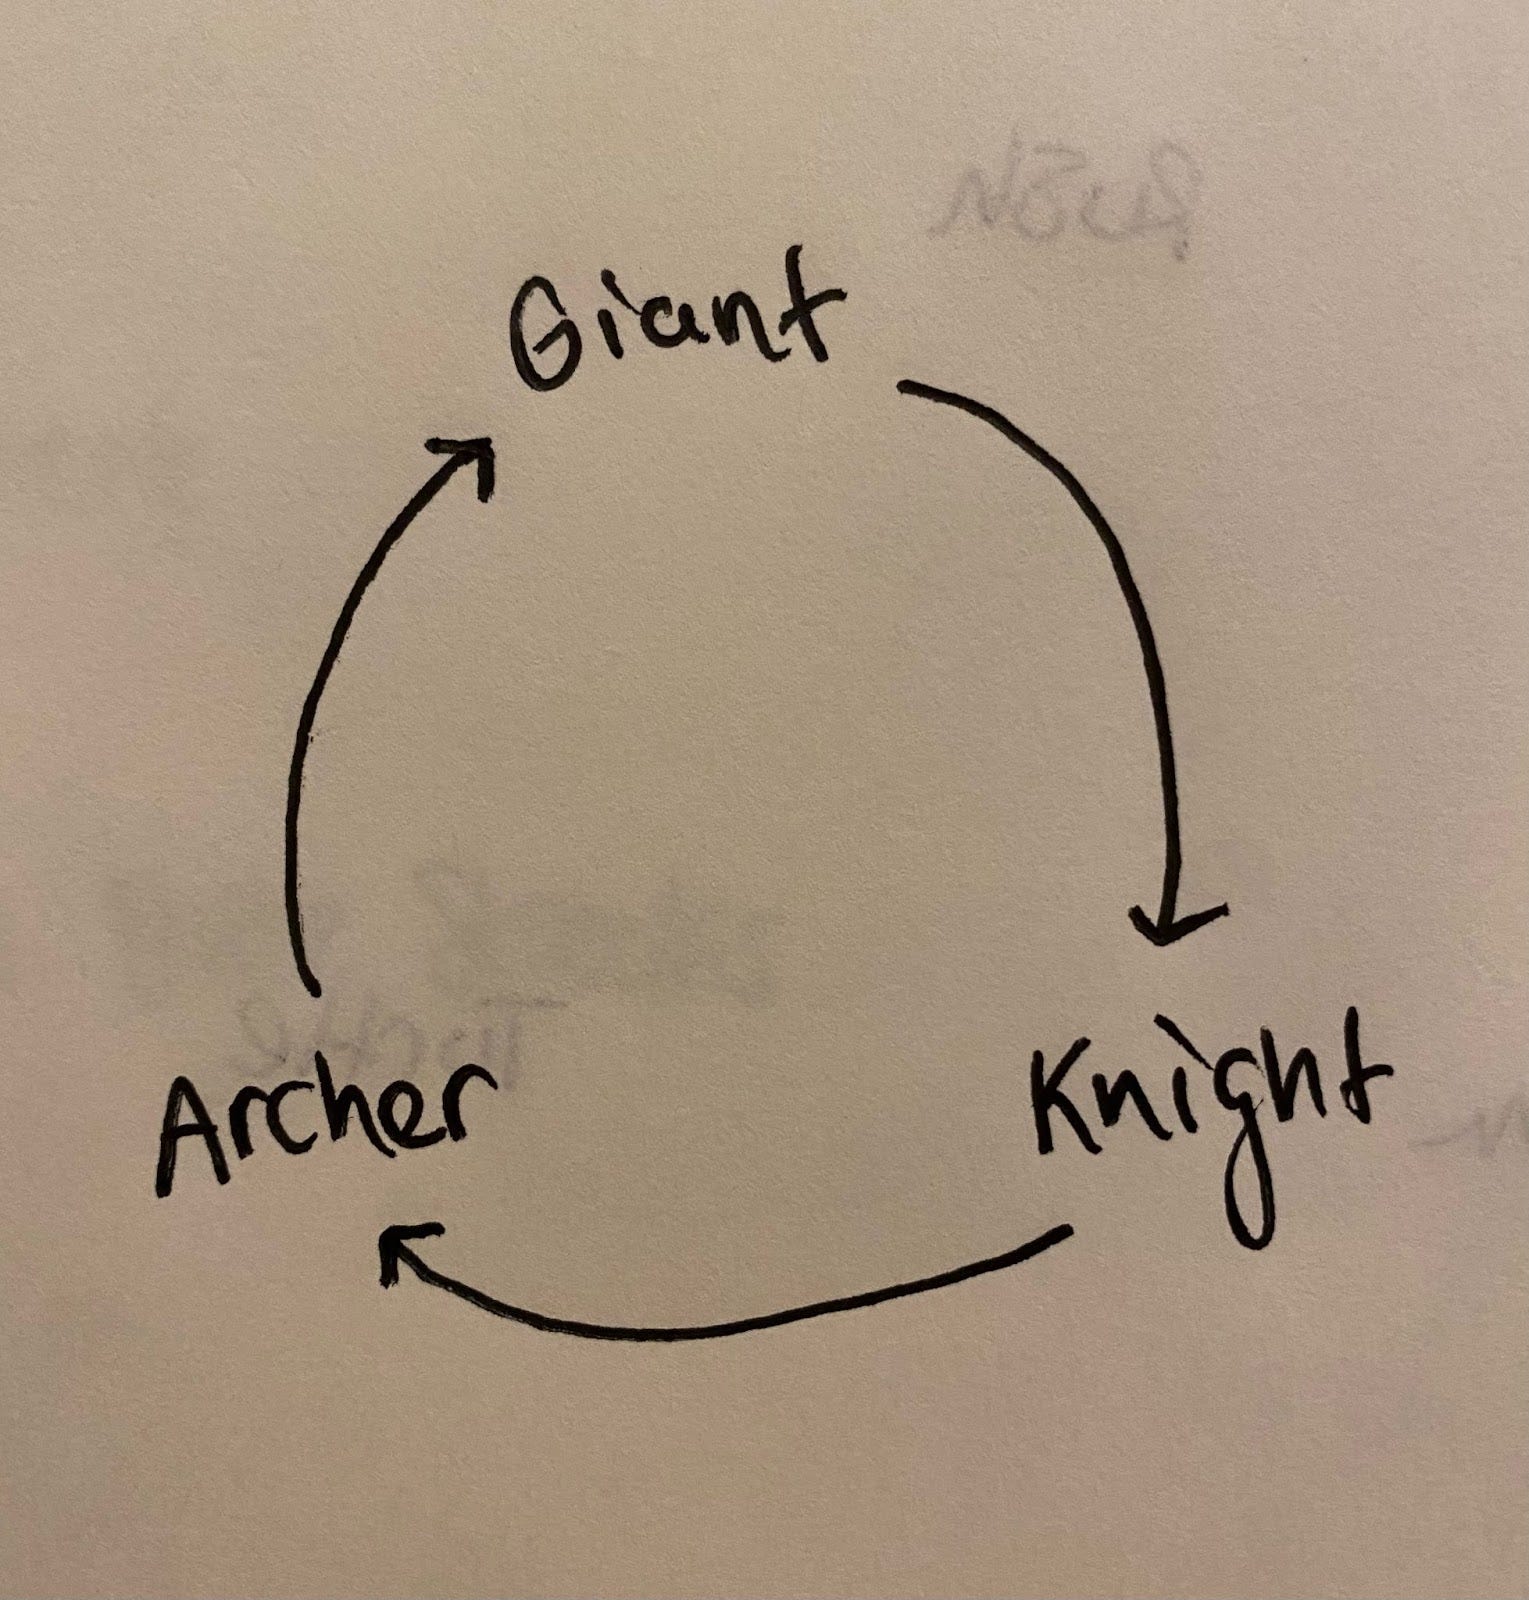
The Archer takes basic iteration on the Giant in a different direction entirely. With her bow and its attack range of 2, the Archer controls not the 6 adjacent hexes, but the 12 hexes beyond. This is a major advantage, but it comes with vulnerability up close. Unlike the Giant and the Knight, she can't attack adjacent enemies. Now the combat advantage of the Knight's speed becomes apparent. On his swift steed the Knight can move right through the Archer's range in a single turn, meaning that an undefended Archer will be no match for the Knight. The Giant on the other hand is a different story. The Giant can survive an Archer's attack, but is it worth sacrificing almost half your health to get one hex closer to the opponent? These are the questions a Giant player has to ask. And in many cases the answer is no, allowing the Archer to keep the Giant at bay. These dynamics combine to create a simple counter cycle from the game’s first 3 heroes.
Charge and the Warrior
The Warrior is a more traditional swordfighter and constitutes a substantial departure from the prior three heroes. Warrior has the Charge ability, allowing him to move first and then attack. This gives him an effective range of 2, just like the Archer, but forces him to step forward to use this range, potentially putting him in danger. This downside earns him more health than the Archer, but not enough to prevent him from falling to her bow. Unlike the Giant, the Warrior cannot survive the Archer's attack and often finds himself walled out entirely. Ditto for the Giant, whose massive size lets him crush Warriors with ease, unless the Giant has been seriously wounded already. The Knight is one of the Warrior's clearest victims. His speed is of little use against a Warrior, who can move and strike in one turn, and he simply doesn't have the stats to prevent Warrior from going in for the kill.

Wizard, Mana, and Spells
The starting team needs one more hero, and it's a spot I reserved for a concept I haven't spent much time on thus far: spells. The Wizard is a spell caster. He’s not fast like the Knight nor strong like the Giant, but he does gain mana every turn. With 2 mana, Wizard can cast his spell: Magic Missile, which is much more powerful than any individual attack would be. Not only does Magic Missile deal a lot of damage, but it zips across the board in a flash of light, damaging the first hero in its path. The threat of a missile allows Wizard to control whole columns of the board, much as the Archer can control whole rings. Well-positioned Wizards can push their enemies apart, forcing the opponent to contort their carefully crafted formation to dodge their spells. To compensate, the Wizard is incredibly weak, with little health, almost no attack, and extreme vulnerability when his spell isn't available. Like the other disjoint heroes, the Wizard cannot move or attack and cast his spell in the same turn, meaning he needs careful positioning to use well. In the right hands, however, the Wizard threatens Archers from beyond their range and forces Giants to take awkward paths if they want to avoid his damage. His greatest enemies are swift Knights that can take a Magic Missile to the face and Warriors that like to step into that little nook between the cast ranges of the Wizard's spell.
This means that the Warrior and Wizard complement the first three heroes excellently, converting the triangular counter cycle into a pentagon. Each of these heroes is strong against two of the other four and weak against the others, leading to a web of complex tactical dynamics that arise naturally from even the simplest character set. Of course, this is only a glimpse of the vast world of varied and intricate characters, but the first five lay a strong foundation for new players and new hero designs to build on.